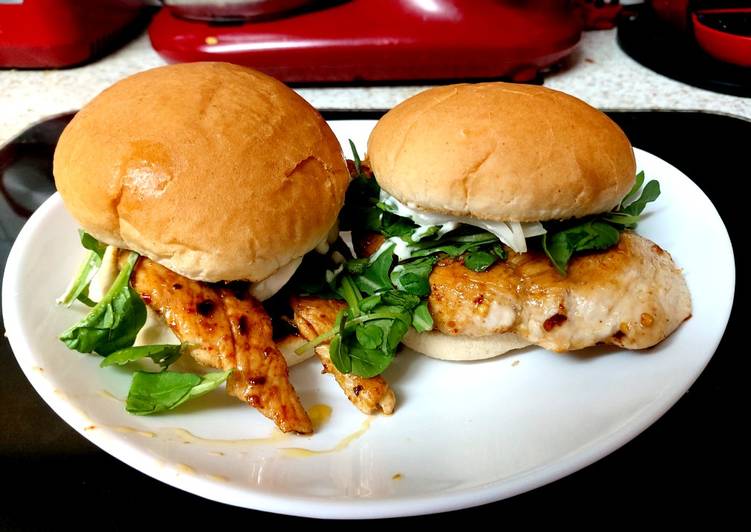
How are you currently as of this perfect moment ?, I pray you’re properly and usually content. through this web site I will introduce the recipe for cooking My fried Salt and Pepper seasoned Chicken on a bun. 🥰🥰🥰 that is currently extremely popular with various groups, having a easy and fast method of making relatively, this My fried Salt and Pepper seasoned Chicken on a bun. 🥰🥰🥰 food is in great demand by lots of people, and tastes good also, makes all of your family and perhaps good friends You like it.
My fried Salt and Pepper seasoned Chicken on a bun. 🥰🥰🥰 cuisine is really a dish that’s classified as an easy task to make. through the use of products which are common around you, it could be created by you in simple actions. You may make it for family or friends events, and it could be provided at many established activities possibly. I am certain you will see lots of people who just like the My fried Salt and Pepper seasoned Chicken on a bun. 🥰🥰🥰 dishes that you just make.
This video was inspired from a visit to CheeseBurger In Paradise on the island of Maui. There they used salt and pepper buns on all their burgers. Salt and Pepper Chicken Without Deep-Frying (椒盐鸡)Omnivore's Cookbook.
Alright, don’t linger, let’s practice this my fried salt and pepper seasoned chicken on a bun. 🥰🥰🥰 formula with 6 materials which are absolutely easy to find, and we have to process them at the very least through 6 actions. You should devote a while on this, so the resulting food could be perfect.
Girls when Jeon Jungkook says the word "fuck" : 🥰✨💞💓💗✨☺️🌈💗💞🥰💖🌈💘☺️💖. Taiwanese salt and pepper chicken - This recipe uses minimal oil to create super crispy juicy chicken bites that are bursting with flavor. It uses brown sugar, fresh ginger and garlic to impart a rich taste to the chicken. Ideally, marinating in the fridge overnight will help the chicken develop a deeper flavor.
A generous sprinkling of salt and pepper readies chicken for a quick saute. A long, gentle poaching in milk seals in tenderness and a unique, delicate flavor. Just four ingredients - chicken, salt, pepper and milk - is all this simple dish takes! Try it, you will be surprised. Serve over hot, fluffy rice if desired.
Alright, above possesses described briefly about causeing this to be my fried salt and pepper seasoned chicken on a bun. 🥰🥰🥰 recipe. at the very least it could be an illustration for you yourself to broaden your expertise inside the culinary world. if you want to save our web site address within your browser, in order that at any most suitable moment there’s a latest menus of formulas, you may get the facts. and in addition share the hyperlink with this website together with your colleagues and friends, thank you.